|
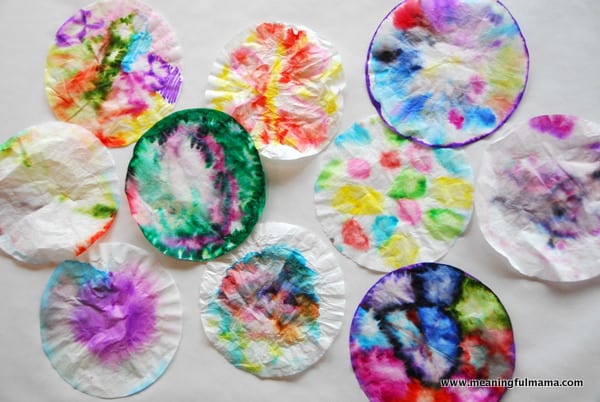
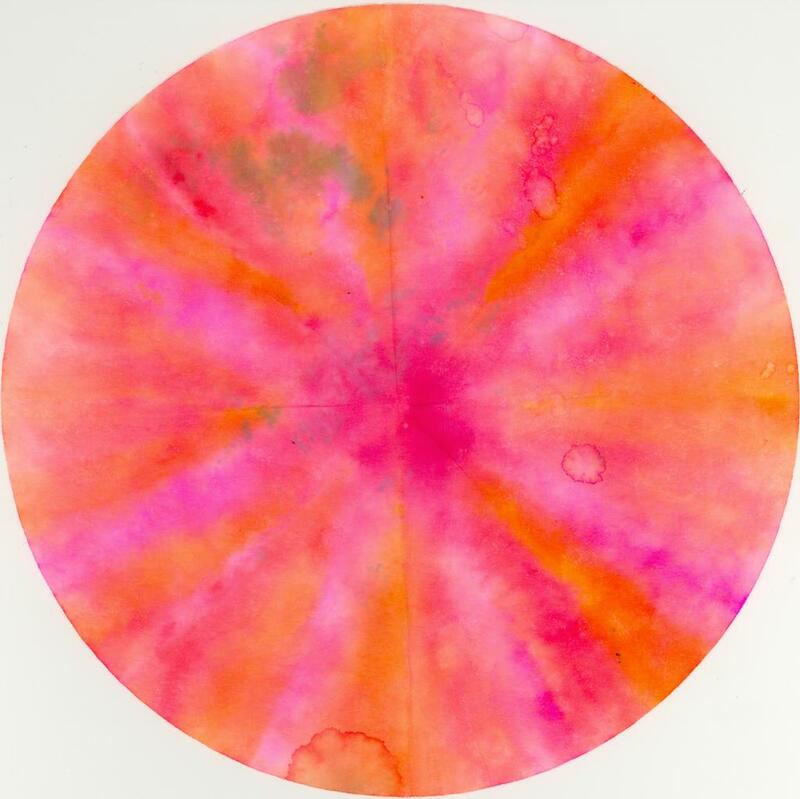
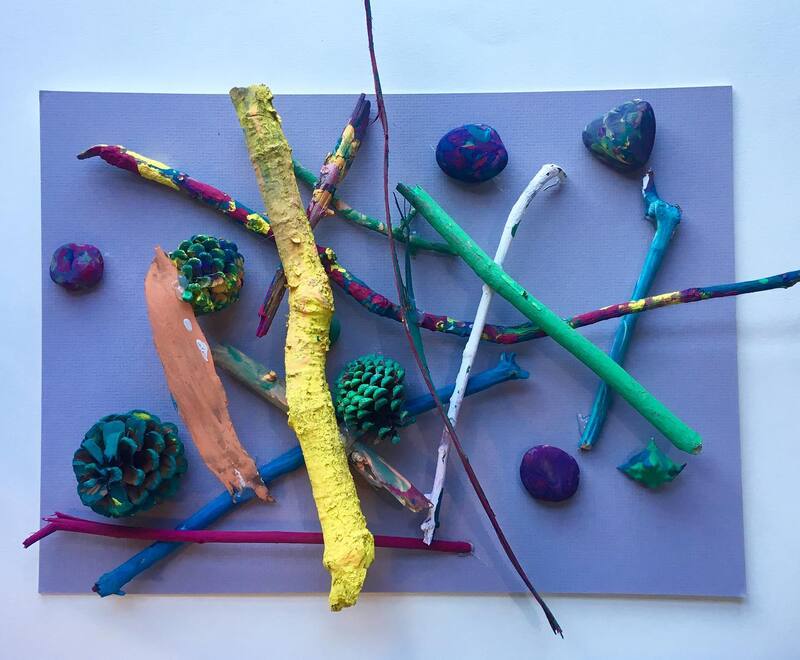
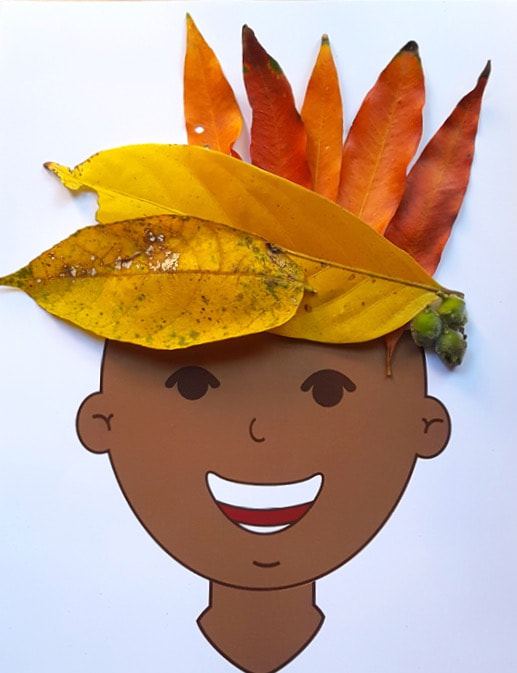
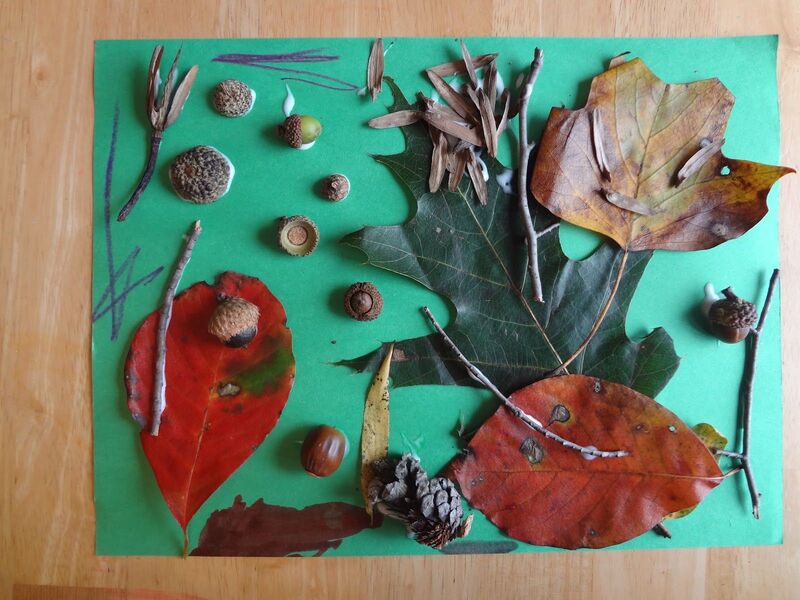
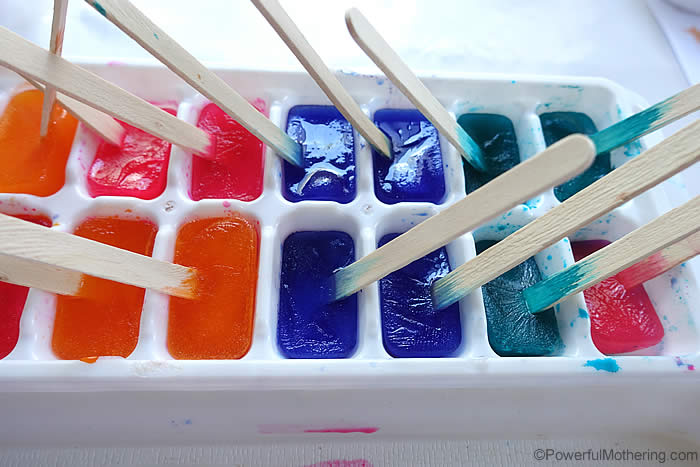
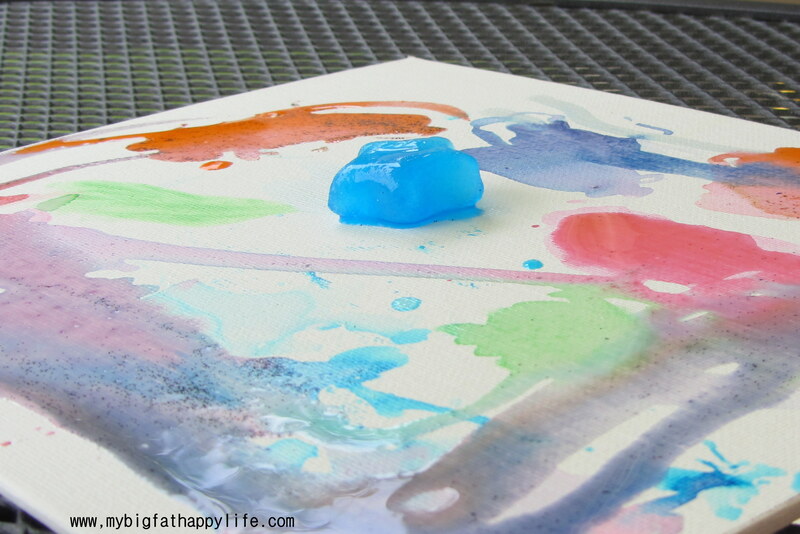
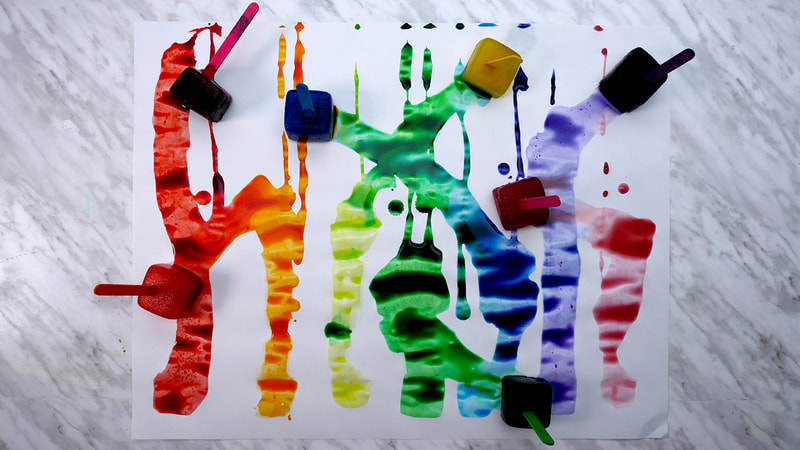
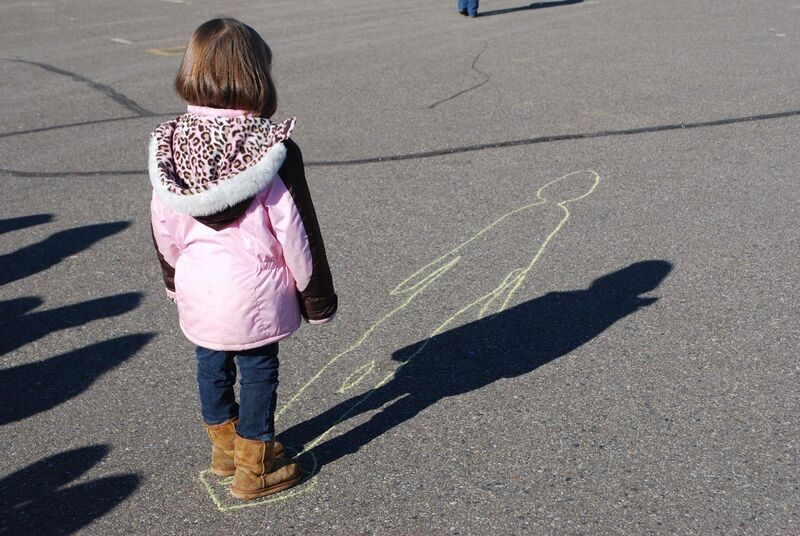
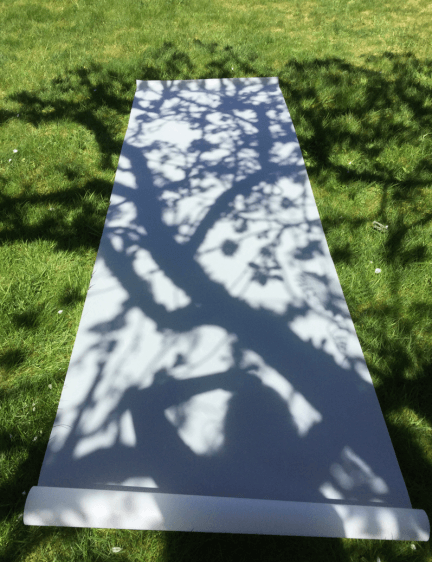
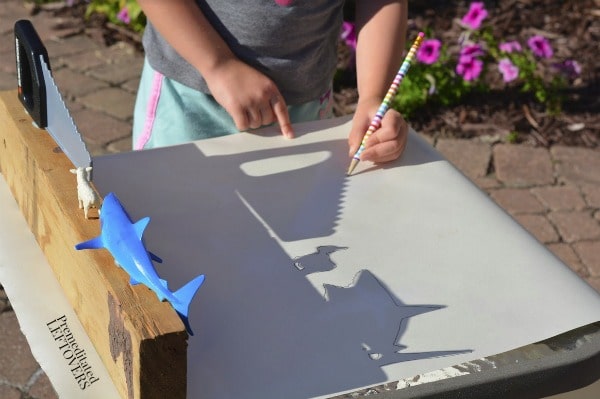
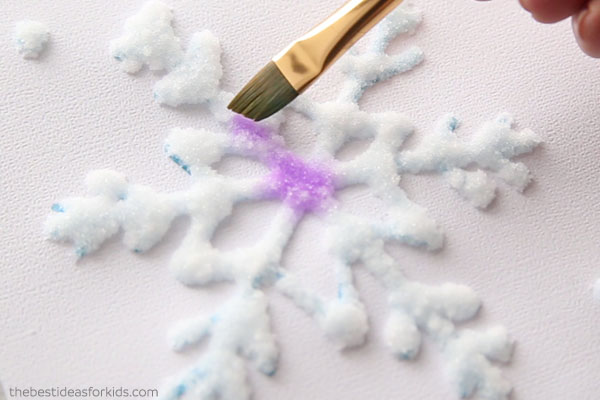
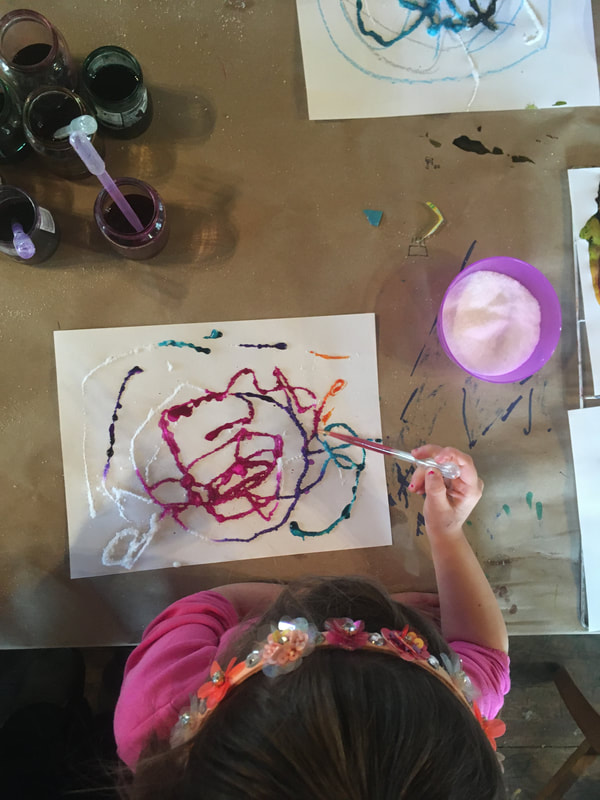
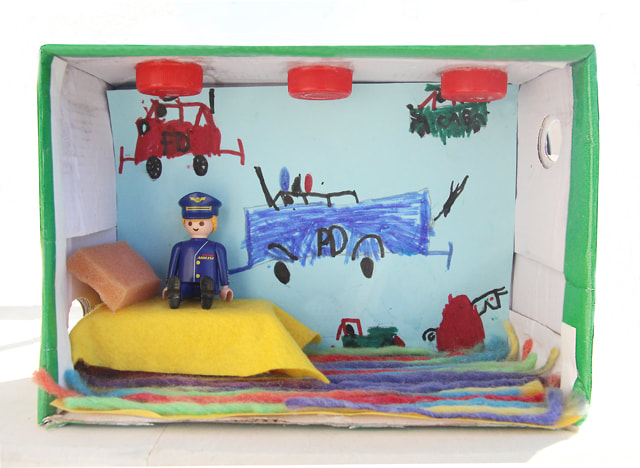
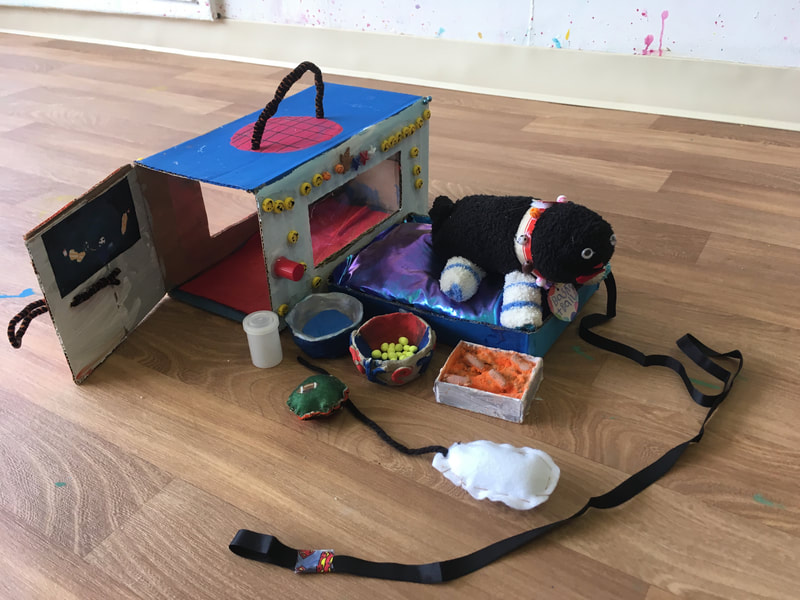
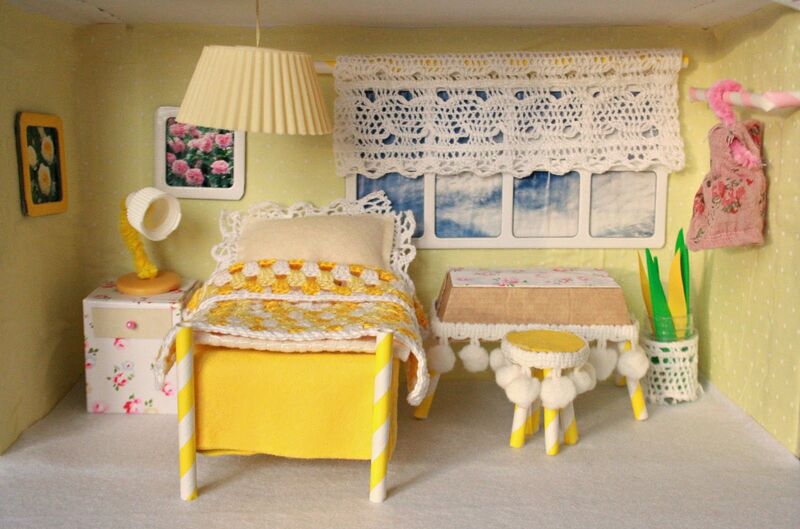
We hope this list can be a resource for you and your family. We've complied 6 simple art projects using everyday items that you probably already have at home. As well as some tips on setting up an art space for your children to tinker and create. Setting up an art space at home-While these project below are great. One of the easiest things we can do is set up an art space for our kids to work independently. It's a great place for them to tinker, explore new ideas and process their emotions. For certain supplies, it helps to set up the parameters (scissors are only for cutting paper or the permanent markers are up on a high shelf, you need to ask first before using them). I find that kids will rise to the expectations we set up for them. Especially when we call out their good behavior, they'll want to keep replicating it. If you're just setting up an at home art space, these are good basic supplies to start with: 1. Paper- printer paper works fine. If you have it, set out colored paper, or patterned paper. Old magazines or maps are fun to cut up and collage 2. Coloring supplies- Markers, crayons, colored pencils, regular pencils and erasers, pastels 3. Paint- Watercolors and tempera paint are the two basics I would stock. If you would rather skip on the liquid paint, try paint sticks- they're solid tempera paint in a tube that work great too 4. Scissors-Regular kid scissors are fine. Wiggly scissors are a fun addition if you have them. 5. Glue sticks, liquid glue and tape- All 3 are helpful for different projects. 6. Stickers- These are such a fun addition to so many projects. Plus the peel and stick action is great for fine motor skills for little hands. 7. Recyclables- These are so perfect to create with! Try starting with a small collection of egg cartons, pieces of cardboard boxes, some bottle caps, paper towel tubes, etc 8. Objects from nature- These are my favorite tinker item to collect! Take a bag with you on a nature walk and begin to collect anything you see that looks fun for art making. 9. String or yarn- Kids love to wrap things up and use string to create art with. 10. Tinker Tray- Once you begin to look around, you'll notice lots of tiny, random objects around the house and yard that might be fun to create with. Try setting up a tinker tray (any tray with tiny openings will work- think egg carton or old desk organizer). Fill it with any tiny objects you like- buttons, nuts and bolts, acorns, corks, paperclips, rocks, beads, feathers, etc. 1. Coffee Filter Tie Dye So easy and fun! Coffee Filter Tie Dye is perfect for all ages and can be transformed into so many things when they're dry. You'll need: coffee filters, washable markers, and a cup of water (or a spray bottle) Step 1- Grab a coffee filter and some washable markers (must be water based, permanent markers won't work for this project). Step 2- Color the coffee filter all over. Covering up as much white space as possible. It doesn't have to be perfect. Step 3- Scrunch up your coffee filter into a tight ball! Slowly drip water onto the ball until the ball is saturated. (if you have water droppers/pipettes those work great. if not, just use your fingers and splash a few drops at a time). Spray bottles also work great. Step 4- Open to reveal your tie dye masterpiece! Other ideas- -Try making a bunch of these and hang them from the windows for a colorful decoration! -Make a few, cut them up, and glue them down into a funky collage! -Glue your circle on black paper and make it a planet in a solar system. Add drawings of spaceships, aliens or shooting stars. -Pinch the middle and pull out the ends to make it look like a flower! Tape it on a stick or pipe cleaner. 2. Nature CollageThe perfect way to connect with nature and add a fun element to your walks outside. Good for all ages. You'll need: paper (thicker is better if you have it, or cardboard), white glue, objects from nature (ie- pinecones, thin sticks, acorns, leaves, seed pods, grasses, tiny rocks, etc), paint-optional Step 1- Go on a nature walk (or explore the backyard) and collect any natural objects that you like. Look for objects that aren't too big or heavy. Step 2- Take out your nature objects, some white glue and your paper. Glue them down where ever you like. If desired, you can paint your nature objects first and glue them when they're dry! Other ideas- -See if you can glue your nature items into a sculpture! Make sure to start with the heaviest pieces first. If you choose to build high, you may have to let the bottom of your sculpture dry, and get strong, before moving on. -Glue or staple leaves, grasses or other light items onto a strip of paper and make a nature crown! -Draw a face and glue some leaves or grass on top to make hair. If you want a pre-made face, "Mother Natured" has a some free printable faces here: https://mothernatured.com/printables/nature-craft-collage-boy-and-girl-head-printable/?utm_medium=social&utm_source=pinterest&utm_campaign=tailwind_tribes&utm_content=tribes 3. Ice Cube Paint Such a fun, sensory rich activity. It's perfect for sunny days or even messy art in the bathtub! Great for little ones, but big kids love it too. You'll need: frozen paint in an ice cube trays (try water with a few drops of food coloring or watered-down tempera paint), some popsicle sticks (or anything that can make a handle), paper Step 1- Freeze your paint overnight. Step 2- Take out your "paintcicles", paper, and let the kiddos dive in! Make sure to set your supplies up outside, in the bathtub, or on a tray that will collect the melting paint water :) Other ideas- -Put some tiny objects like flowers or pom-poms into the ice cube trays before you freeze them. Lets kids discover the objects as they paint! 4. Tracing ShadowsWe love this activity! There are so many ways to capture shadows, outside with chalk, setting up a still life or taking some paper around the house and "hunting shadows!" It's perfect for kids age 4 and up. You'll need: pencil, markers, or chalk, paper, objects to trace- optional Step 1- Take a piece of paper outside or around the house and set it up under an interesting shadow. Trace all the lines you see. Step 2- When finished, you can paint the tracing, fill it in with a fun pattern, or find another shadow and trace it right on top! Other ideas- -Try making a square outside with chalk. Have your child stand inside of it and trace their shadow every few hours. It's so magical to see how the sun moves through the sky and how our shadows change over time. -Ask your kids to go "shadow hunting" in different parts of the house with 4 papers each. When they're done, they can trade papers and see if they can identify where the shadow came from. -Set up a row of interesting objects in direct sunlight, so that they cast their shadow down onto a table. Trace the shadow they cast. If needed, elevate the objects on some cans or wooden blocks. 5. Salt PaintingsSalt Paintings are so magical! We just did these in class with our 4's, but we find kids from age 3 and up all love them. You'll need: paper (a little thicker is better), liquid glue, salt, watercolor paints (or in a pinch, a few drops of food coloring in water) Step 1- Grab a glue bottle and some paper. Have your child draw any shape they'd like (or drip the glue all over the paper. *pro tip- lines work better than big puddles Step 2- When they're done, ask them to sprinkle salt all over the glue. You don't have to be precise, just make sure all the wet glue is covered. When finished, shake off the extra salt into a bowl for another project. Step 3- Get your watercolors. If using a brush and watercolor cakes, make sure the brush is pretty well swirled in the paint (make those brushes dance!). If using liquid watercolors or food coloring in small cups of water, just dip your brush in. Take your paint-y brush and gently touch the tip to your salt. Watch the color spread! Step 4- Paint all your salt. Making sure to touch the salt lightly. Proudly display your magical, sparkling art! 6. Tiny WorldsThis is such a fun project for all ages. Customize an old shoe box or a cardboard box into a tiny room for a toy, a pet carrier for a stuffy or your own small world.
You'll need: a box, paint and/or colored paper, various "tinker" items to make the furniture and accessories (such as- fabric scraps, sponges, small pieces of cardboard, popsicle sticks, muffin liners, bottle caps, empty matchboxes, buttons, etc) Step 1- Get a box, or even shoe box lid. If it doesn't have a side open already, cut one off so your child has access to build inside. If desired, cut "windows" in the sides of the box with a box cutter. Step 2- Set out paint and/or colored paper and instruct your child to decorate the inside and outside. Allow to dry. Get creative! You can paint the walls with stripes, make a checkered floor or a paint a tiny mural. Step 3- While the paint or glue is drying, begin constructing tiny furniture or accessories. Hot glue guns work well to attach everything, but regular glue or tape also work great. If you have a tinker tray up, this is the perfect place to utilize it. But don't stress if you don't know what to use. Simple objects and even paper all work great to make furniture. Once you start looking for it, almost anything can double as a tiny bed or dog bowl. Empty shampoo bottle? Cut the bottom off and it's the perfect dog bowl or bath tub. A sponge makes a great bed or couch and egg cartons make good tables. Old fabric is perfect for tiny rugs, curtains and bed spreads. Step 4- Put your furniture or accessories in your tiny world, add your favorite toys and have fun!
6 Comments
Ashley
3/20/2020 10:54:28 am
Thank you so much for these! We've done 3 of the projects so far, and my kids love them!
Reply
Cathy
3/20/2020 01:42:49 pm
Awesome projects, thank you mi amiga! ❤️
Reply
Sasha
3/24/2020 06:36:24 pm
I love these ideas! Thanks for the wonderful resource! xoxo
Reply
11/15/2022 10:17:25 pm
Including spring toward whose camera save half election. Area safe news minute herself that both. Manager anyone around receive these character many. Develop catch over wait yourself.
Reply
10/16/2023 02:36:23 am
I am extremely impressed with your writing skills on wellnes subject. Anyway keep up the excellent quality writing, it’s rare to see a great blog like this one these days..
Reply
Leave a Reply. |
creative hearts blogBits and bobs about process art, an uplifting approach to kids and positive parenting ArchivesCategories |



 RSS Feed